Installing thermo wood cladding is a straightforward process that most experienced builders and ambitious DIYers can tackle. The key to a successful installation is proper preparation, a well-designed rainscreen cavity, and attention to detail at transitions and openings. This guide covers every step from planning to finishing.
Tools and Materials Needed
Tools:
- Miter saw or circular saw with a fine-tooth blade
- Drill/driver with countersink bit
- Level (4-foot minimum)
- Tape measure and chalk line
- Spacers (appropriate for your chosen gap)
- Safety equipment (glasses, hearing protection, dust mask)
Materials:
- Thermo wood cladding boards (your chosen profile)
- Battens/furring strips (treated or aluminum)
- Breathable membrane/housewrap
- Stainless steel screws or hidden clips
- Wax-based end sealer
- Starter strip and trim pieces
- Flashing for windows, doors, and penetrations
Step 1: Prepare the Wall
Before installing cladding, the wall surface must be properly prepared:
- Inspect the substrate: Ensure the wall is structurally sound and any sheathing is properly fastened
- Install housewrap: Apply a breathable weather-resistant barrier (WRB). Overlap seams by minimum 6 inches. Tape all seams.
- Flash openings: Install proper flashing around windows, doors, and any penetrations. Water must be directed outward at every transition.
Step 2: Install the Batten System
The batten system creates the ventilated rainscreen cavity — the most critical element for long-term cladding performance.
- Batten spacing: Maximum 600mm (24 inches) on center for most profiles
- Batten depth: Minimum 20mm (3/4 inch) to create adequate ventilation cavity
- Batten material: Pressure-treated softwood or aluminum channels
- Orientation: Battens run perpendicular to the cladding boards (vertical battens for horizontal cladding, horizontal battens for vertical cladding)
Ensure battens are plumb/level — any deviation will be visible in the finished cladding.
Planning a decking or cladding project?
Use our material estimator or explore our premium hardwood and thermo wood materials.
Step 3: Install Starter and Base Details
Proper base detail prevents water from wicking into the bottom of the cladding:
- Install a perforated starter strip or insect mesh at the base to allow ventilation while preventing pest entry
- Maintain minimum 200mm (8 inches) clearance between the lowest board and the ground
- Install a drip edge or flashing at the bottom of the batten system
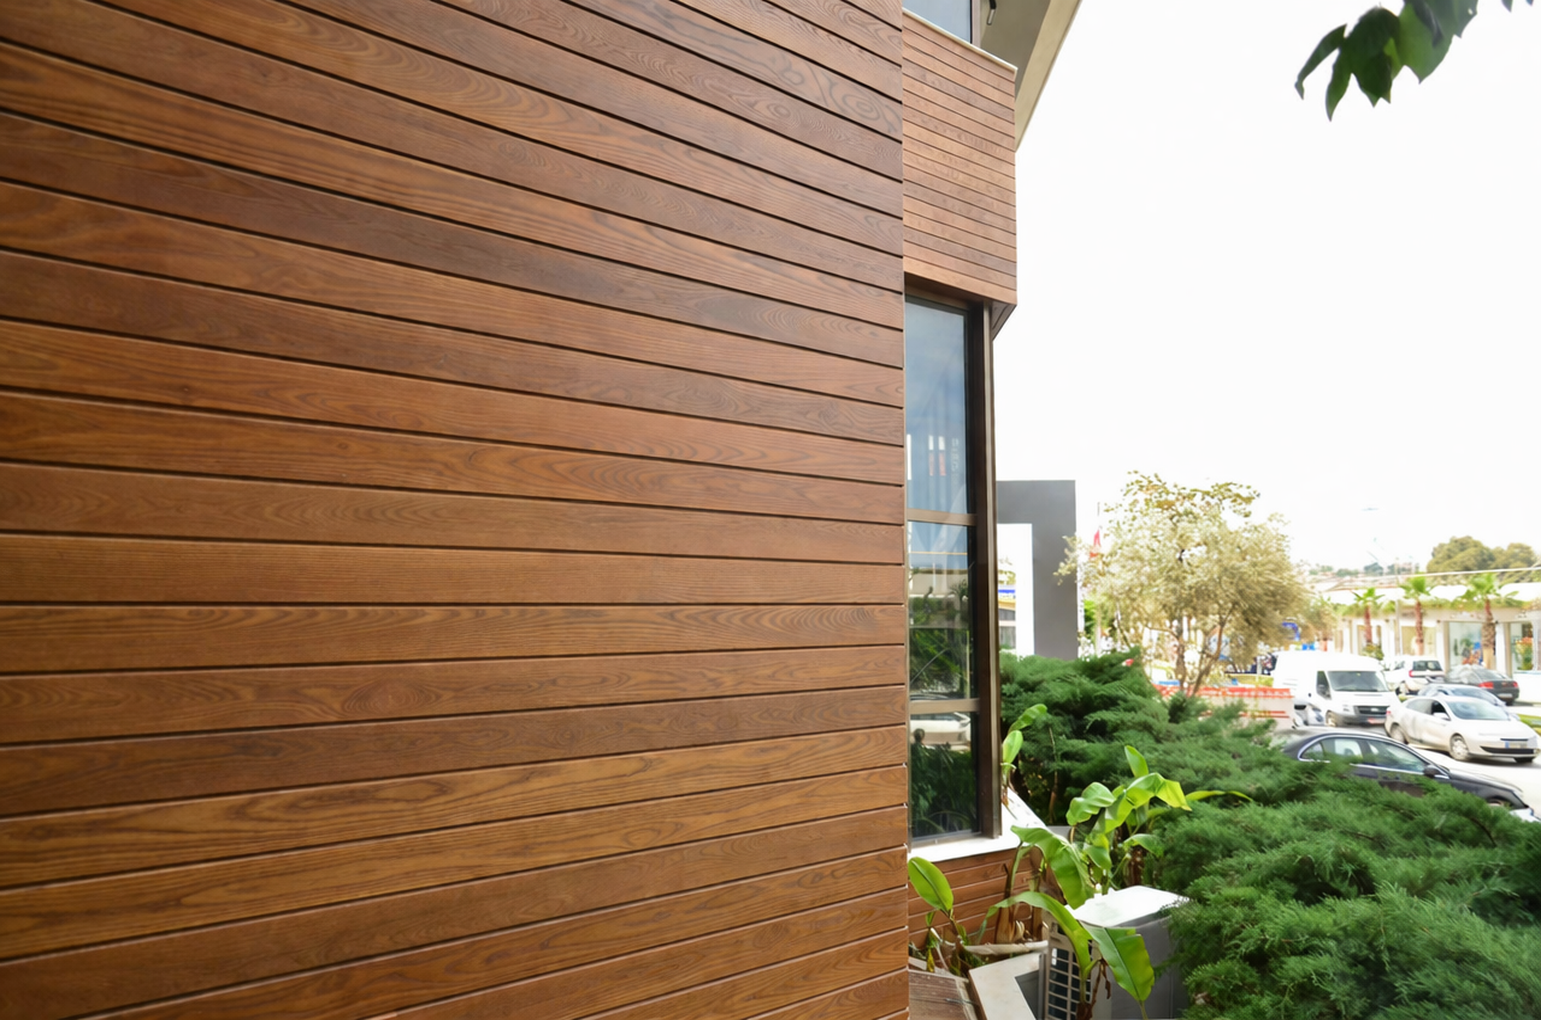
Step 4: Install the Cladding Boards
For tongue and groove profiles:
- Start at the bottom with the groove facing down
- Face-screw the first board through the face (this will be covered by trim later, or countersink and plug)
- Subsequent boards: nail or screw through the tongue at a 45° angle, or use hidden clips
- Check level every 4–5 courses
- Maintain consistent end-to-end gaps (3–5mm) at butt joints
For open joint or face-screwed profiles:
- Pre-drill all screw holes
- Use spacers between boards for consistent gaps
- Stagger board joints across different battens
- Countersink screws slightly below the surface
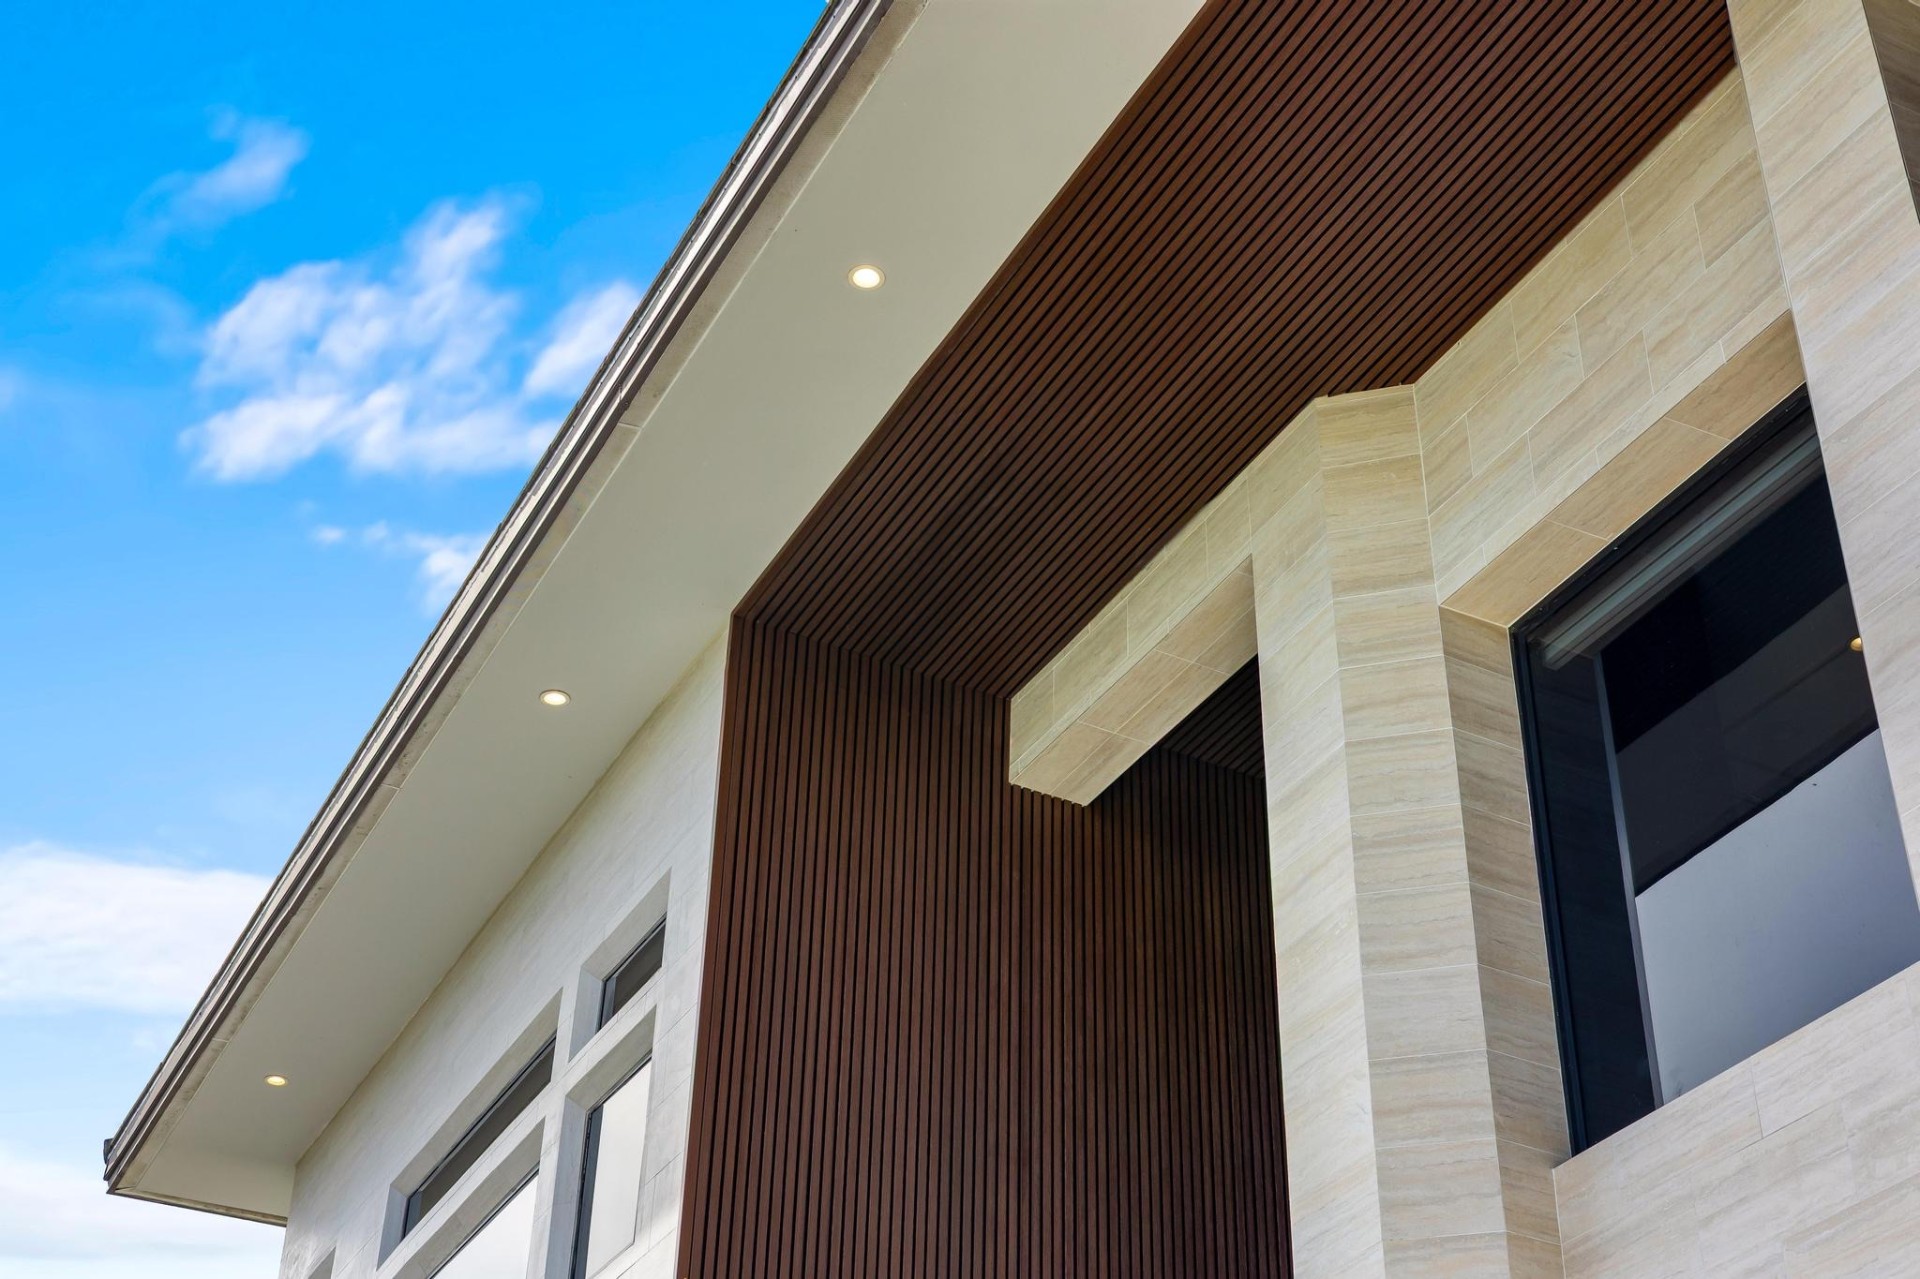
Step 5: Transitions and Trim
Professional results depend on clean transitions:
- Outside corners: Use pre-made corner trim or miter-cut boards at 45°
- Inside corners: Butt boards into a corner trim piece
- Window/door surrounds: Install trim before cladding. Cladding boards butt against the trim with a small gap (2–3mm)
- Top termination: Install a drip cap or Z-flashing above the top board
Step 6: End Grain Sealing and Finishing
This step is often overlooked but is critical for longevity:
- Seal all cut ends immediately after cutting with a wax-based end sealer
- Do not skip this step — exposed end grain is the primary entry point for moisture
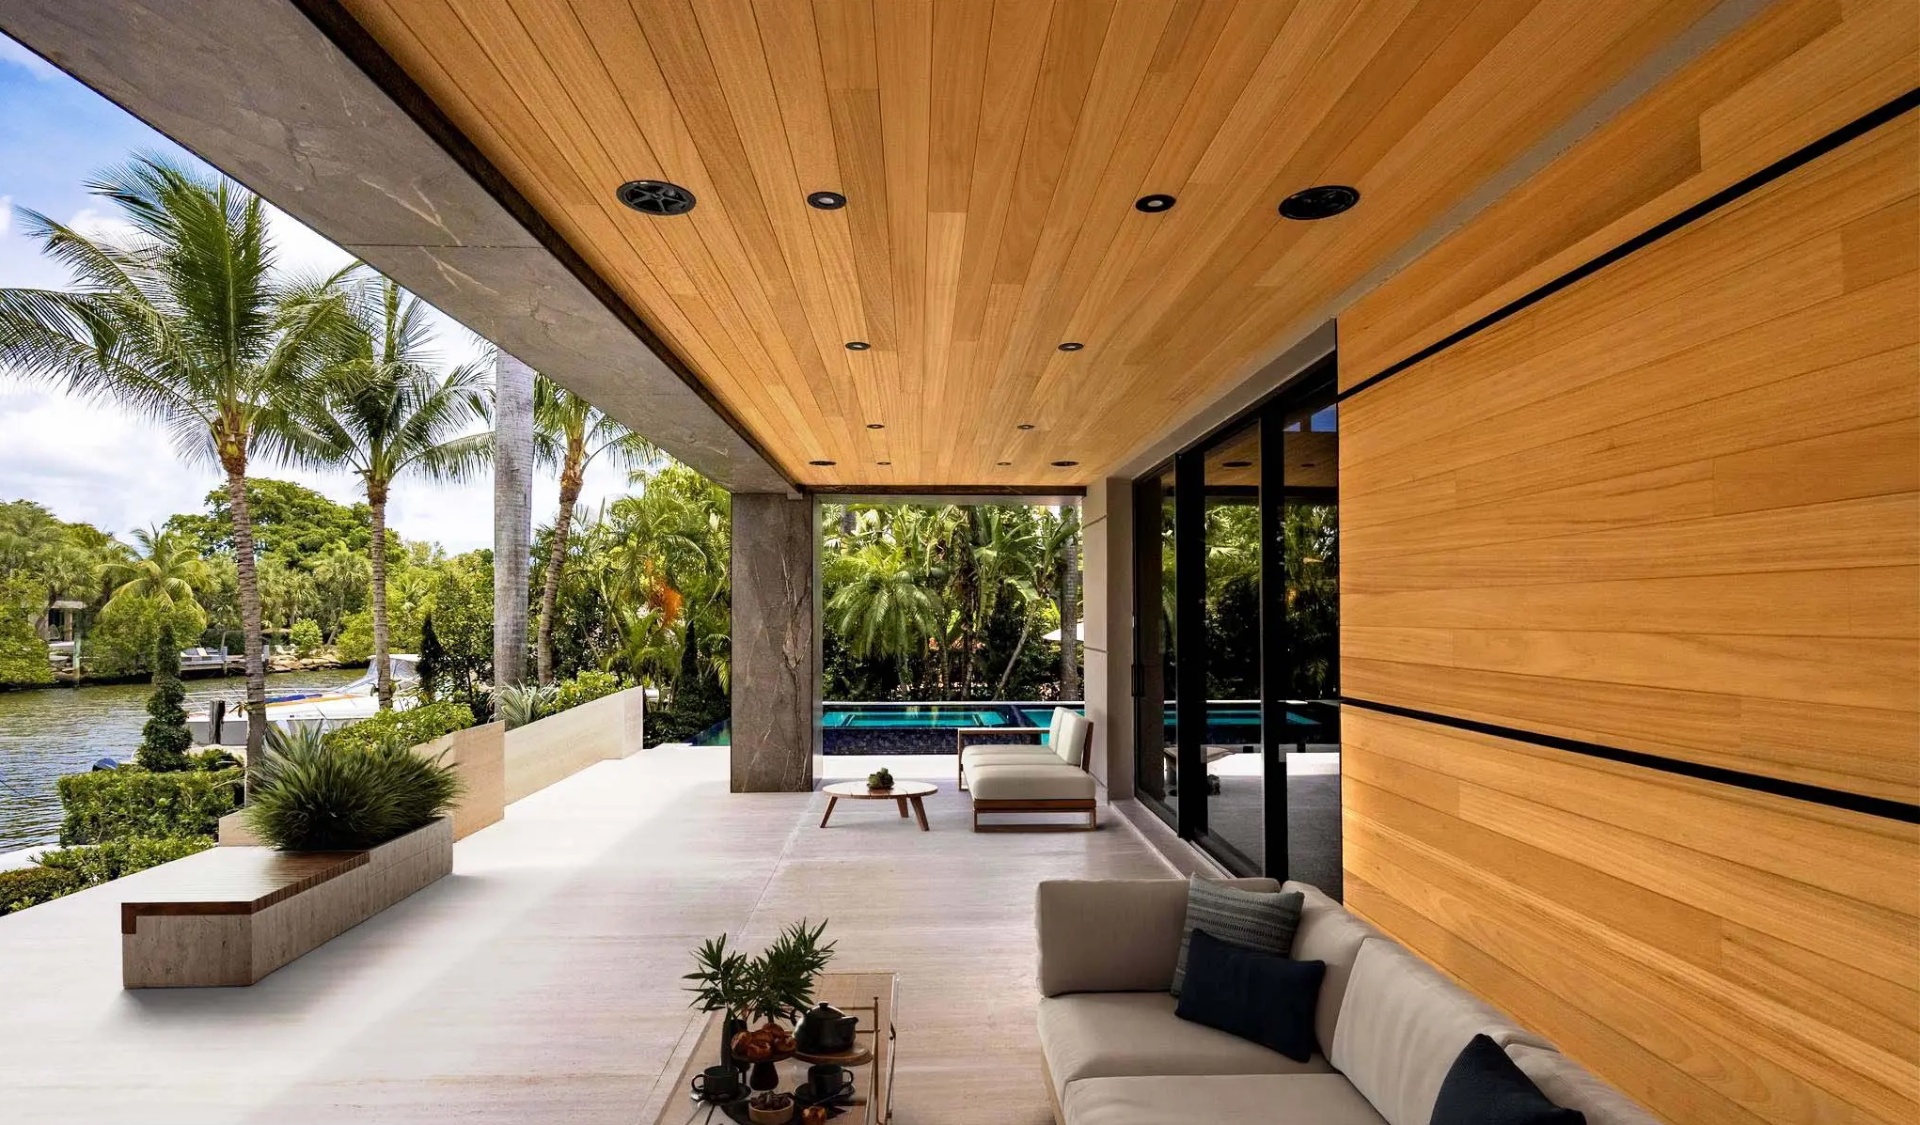
- Optional surface finish: Apply UV-protective oil to maintain the brown color, or leave natural for the silver-gray patina
Ready to start your project?
Explore our premium materials or get help planning your project.